This article explains how to create and publish a playlist on PlaylistFeed so it can be discovered, appear in Explore and Feed, and receive music submissions from artists.
Step 1: Log In to PlaylistFeed
Go to playlistfeed.com and log in using your email. A magic link will be sent to your inbox. Click the link to access your account.
Step 2: Click “+ Create Post”
Once logged in, click the “+ Create” button in the top menu or wherever it appears in your dashboard.
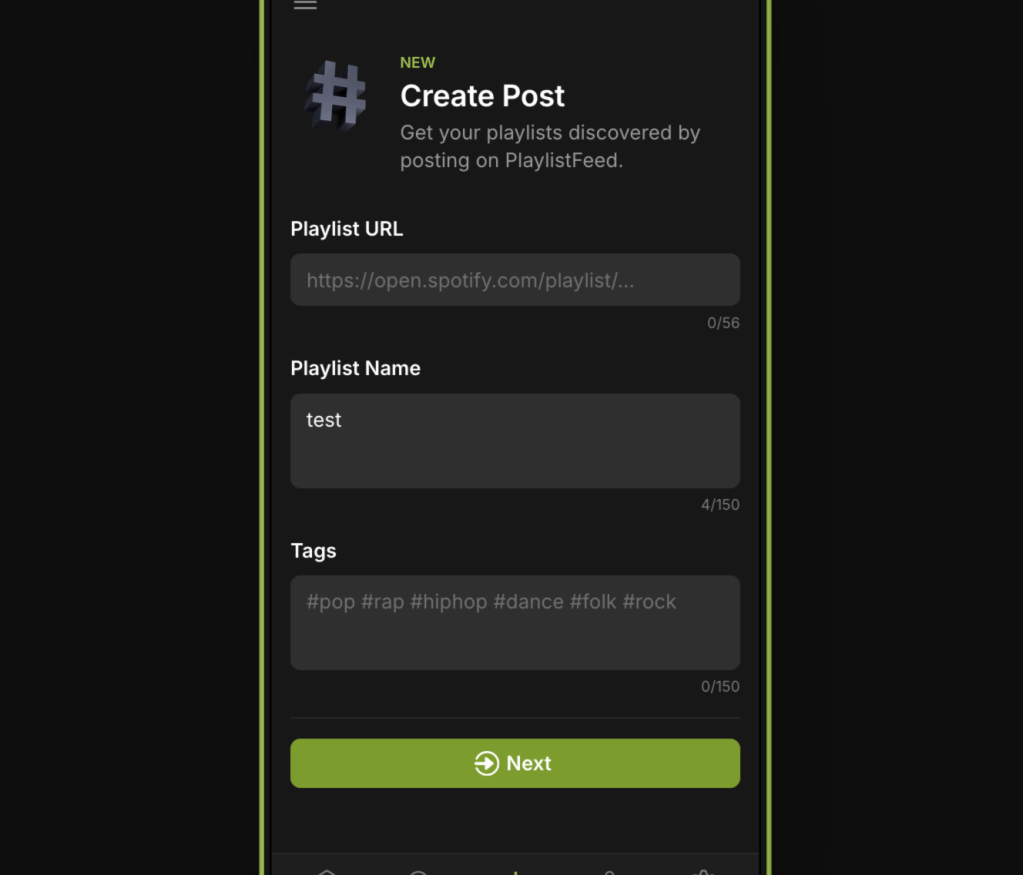
Step 3: Add Playlist Details
You’ll be asked to enter the following:
- Title: A clear, relevant title that describes your playlist.
- Caption: A short description. Include the mood, purpose, or any unique info.
- Genre / Mood Tags: Select the tags that best describe the sound or vibe.
- Playlist Link: Paste the direct Spotify link to your playlist. Note: Your playlist must be set to “public” on Spotify.
Step 4: Publish the Playlist
After entering the required information, click “Share” to make your playlist live. It will appear on your profile immediately.
Step 5: Boost Your Playlist
To show up in the Feed, appear in Explore, and receive music submissions from artists, you must Boost your playlist after publishing.
Boosting enables:
- Visibility in Home Feed and Explore
- Activation of your Curator Network
- Access to submission requests from artists
Without a Boost, your playlist will remain Unlisted, meaning it can be only viewed by anyone with the link.
Troubleshooting
- Make sure your Spotify playlist is public and the link is correct.
- You can update your playlist title, tags, or caption at any time from your profile.
- To stop receiving submissions, remove the Boost or delete the playlist.